Growing Potatoes Above Ground in a Lehigh Bin
-
Helpful Products from Gardens Alive!
-
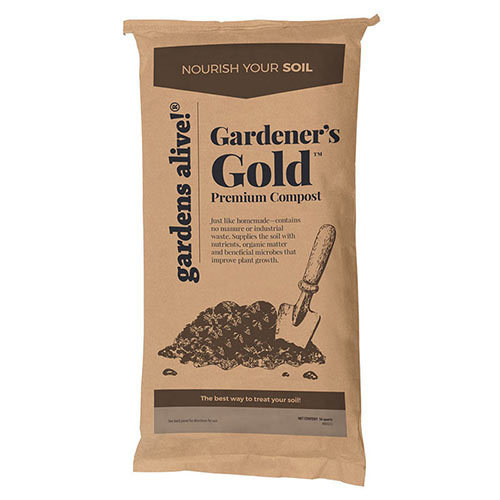
 Gardener's Gold™ Premium Compost
 -
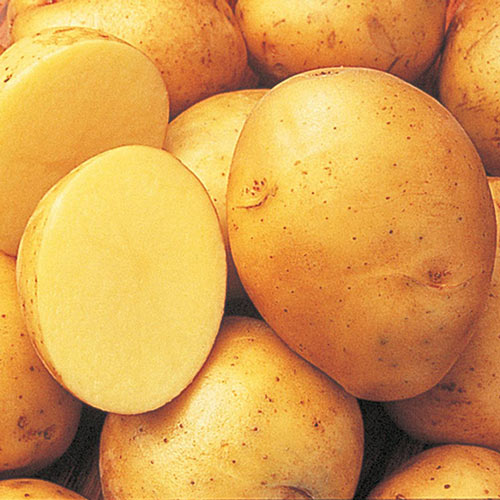
 Yukon Gold Potato
Q. Bruce in Toronto writes: "I'm planning on making a 'Lehigh bin' for my potatoes next year but I can find no reference as to how large the gap should be between slats. I want enough room for the potato plants to be able to come out, but I don't want to be losing soil because the gaps are too large. Could you please make a suggestion?"
A. Absitevely, Bruce!
First, let's explain how a classic Lehigh bin is constructed. You get enough slats of four-foot long rot-resistant lumber to make a bin that's four feet high. 4 x 4 x 4. But you don't build solid walls. Instead you stack each piece of lumber so that you have a slat, then an opening the same size as the slat, then another slat, then another opening, another slat, on and on until you reach four feet high, although there's no harm in going higher.
I called master craftsman and all-around good guy Fred Matlack to help me better communicate the look of this structure, and he replied that the design is the same as the classic "log cabin corner lap". Way back when, log cabins were built by layering logs in this same manner; "then the gaps between the logs were packed with wood chips and clay and then plastered over."
Fred continues: "Someone with even rudimentary carpentry skills should be able to build a Lehigh Bin. I recommend they use two by fours for the lumber. Just be aware that 'two by four' is an archaic and technically inaccurate term that refers to the initial cut of the lumber, which was two inches by four inches. But the wood then shrank during the drying process and the result was inconsistent, so lumber mills established a new standard, working the dry wood to make it a consistent inch and a half by three and a half. (Although everybody still calls it a two by four.)
"When four-foot-long 'two by fours' are stacked to make the classic Lehigh bin, the openings between the slats will be three and a half inches, which is just about the width of the four fingers on one hand. You can use dirt cheap untreated pine, which should last for several seasons; a few more if you don't mind the bottom boards showing some signs of decay. And if you're only using the bin to grow potatoes, you can fold it up and store it inside in the off-season for an even longer life. Cedar is more expensive, but it will last longer, again especially if it isn't left outside over the winter.
"The finishing touch involves drilling matching holes on all four corners and inserting a metal rod down the entire length of the lumber to hold the bin together. Use a fiberglass rod if rust is an issue."
Thank you, Fred. Fred Matlack is an amazingly talented carpenter who built my office furniture using boards from an old barn, built our laundry room cabinets out of old packing crates and built all the structures for ORGANIC GARDENING's award-winning major exhibits at the Philadelphia Flower Show in the nineties. He worked for American Woodworker magazine for many years, building the finished versions of the designs featured in their articles; and did the same for the "Build It" feature in OG when I was the Editor-in-Chief. He is also an excellent singer and can disarm a nuclear device using three paper clips and a stick of Juicy Fruit gum.
Back to Bruce in Toronto. I don't believe the spacing between slats will be an issue. Remember, these bins (designed by J. I. Rodale, the man who coined the term "organic gardening" and engineers at Lehigh University) were designed for the making of compost, and I can personally assure you that they hold their contents well. If a little dirt (or compost) does spill out, just scoop it up and add it back to the top.
To make it a proper potato bin, shovel a mix of clean soil and compost into the empty bin until it's a third full. Then place one seed potato in the center of each quadrant (North, South, East and West), close to the outside, with the biggest eye facing out. Then fill it up another third and repeat. When you get close to the top, place a third run of seed potatoes on each quadrant and one in the center. Be sure to bury this final run of seed potatoes under enough soil that the developing crop won't be exposed to sunlight. The green leaves that emerge through the slats and top should get as much sun as possible, but the new potatoes should never be exposed, or they'll turn green; a sure sign that toxins have developed.
Water the bin deeply if you go a week without an inch of rain. At the end of the season, just lift the bin straight up and go treasure hunting; if the soil was loose enough, you should get around five pounds of potatoes for every seed potato you planted.
One final word of advice: Don't 'coin' your seed potatoes. Cutting them into pieces is something commercial farmers pretty much have to do to keep expenses down. But it greatly increases the risk of rot, especially if Spring is cool and wet.
-
Helpful Products from Gardens Alive!
-
 Gardener's Gold™ Premium Compost
 -
 Yukon Gold Potato


 Gardens Alive! & Supplies


