Support Your Local Garlic!
-
Helpful Products from Gardens Alive!
-
Deerfield Purple Hardneck Garlic - Bulb
-
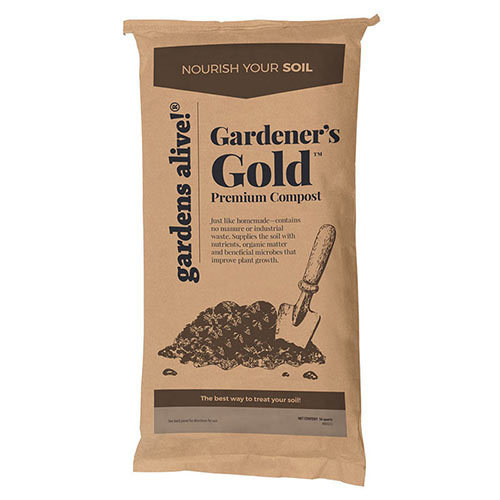 Gardener's Gold™ Premium Compost
 -
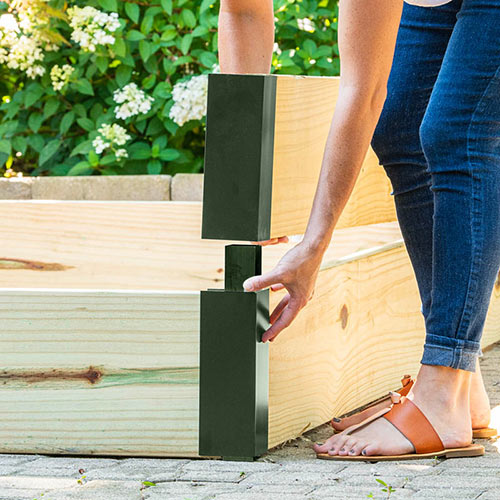 Raised Garden Bed Corners & Extenders
We've gotten LOTS of questions about garlic this summer; far too many for me to try and answer, so I will just cut to the chase and discuss proper planting, happy harvesting and an important disease preventing tip I had forgotten, which led to my being bit in the raja this summer.
I would say 'let's start at the beginning', but which is the beginning? Harvesting beautiful bulbs in the summer? Or planting cloves from those bulbs in the fall? It's like the chicken and the egg conundrum—or Lois never figuring out that Clark was Superman.
Let's start with planting, because this is the season to do so. You pull apart heads of garlic and plant individual, undamaged cloves in your richest, loosest soil. A lot of compost and a lot of perlite in a raised bed is ideal, as the light loose soil of a raised bed produces bigger, happier bulbs. Plant the cloves four to six inches apart; two inches deep in warm climes and up to five inches deep in Frostyland. (That means x number of inches of soil above the tippy top of the buried clove.) Mulch the bed with a couple inches of pine straw or finely shredded leaves; no wood mulch of any kind, color, or national origin!!!
(Rule #3 of gardening: "Just because you have a lot of something doesn't mean you should use it.")
Timing: The further North you are, the earlier you can plant. If you wait until the supposedly lucky Columbus Day, you'll get smaller bulbs at harvest time. I aim for early September to give the cloves extra time to grow a nice root system before the ground freezes. Basically, you should get your cloves in the ground six weeks before your Last Average Frost Date. Down in the Carolinas and thereabouts you can wait until Halloween. In REALLY hot regions, consult your local County Extension Office for timing advice--and grow softneck varieties.
Two basic types of garlic:
I immediately began marking the garlic beds and rotating them so that garlic never followed garlic and thought that was enough; which it was for a couple of years. Then it struck again this season and I frantically pulled up every plant that had a layer of nasty mold where plant met soil, replaced the potentially contaminated shredded leaf mulch with fresh pine straw...and then remembered a disease prevention tip from years ago: soaking the cloves in a baking soda solution for 24 hours (one tablespoon per gallon of water) followed by five minutes in a bath of undiluted vodka.
I ran to the liquor store and bought a half-gallon of cheap vodka for ten bucks. I drenched the beds with this swill, made a promise to treat my cloves properly at planting time this year and harvested a fine crop.
To be continued...
I would say 'let's start at the beginning', but which is the beginning? Harvesting beautiful bulbs in the summer? Or planting cloves from those bulbs in the fall? It's like the chicken and the egg conundrum—or Lois never figuring out that Clark was Superman.
Let's start with planting, because this is the season to do so. You pull apart heads of garlic and plant individual, undamaged cloves in your richest, loosest soil. A lot of compost and a lot of perlite in a raised bed is ideal, as the light loose soil of a raised bed produces bigger, happier bulbs. Plant the cloves four to six inches apart; two inches deep in warm climes and up to five inches deep in Frostyland. (That means x number of inches of soil above the tippy top of the buried clove.) Mulch the bed with a couple inches of pine straw or finely shredded leaves; no wood mulch of any kind, color, or national origin!!!
(Rule #3 of gardening: "Just because you have a lot of something doesn't mean you should use it.")
Timing: The further North you are, the earlier you can plant. If you wait until the supposedly lucky Columbus Day, you'll get smaller bulbs at harvest time. I aim for early September to give the cloves extra time to grow a nice root system before the ground freezes. Basically, you should get your cloves in the ground six weeks before your Last Average Frost Date. Down in the Carolinas and thereabouts you can wait until Halloween. In REALLY hot regions, consult your local County Extension Office for timing advice--and grow softneck varieties.
Two basic types of garlic:
- Hardneck: The best tasting and most colorful type. Many amazing heirloom varieties are available, and hardnecks are THE type for cold clime gardeners. But hardnecks have little storage potential; a hardneck harvested in late June or early July will typically start to sprout by late September. But all is not lost; just plant the sprouting cloves.
- Softneck: aka white garlic or California garlic. Technically a better choice for warmer climes, but less flavorful and much less fun to grow. Big advantage: softnecks are ideal for storage, resisting the urge to sprout for a year or longer. They are also braidable because they got them soft necks. (Hardnecks have a 'woody' stem after curing.)
- Many gardeners grow both types; hard for fresh eating and soft for long-term storage, but that verges on cowardice in my opinion. And a braided circle of soft neck garlic is useless for repelling vampires, while a single bulb of hardneck will send them running...or flying...or misting, or wolfing; because many hardneck varieties originated in their native land.
- You don't have to do much after clove planting; just clip off (and eat!) any scapes (little bulges) that appear at the top of the plant and then wait until the bottom one-third of your plants have turned brown and pull up a test plant. If it looks like a big leek, cook with it and try again later. If the bulbs are nice and fat and have full paper wrappers, pull it all up and 'cure' it for a week or two; ideally laid out singly on a surface with a ceiling fan above for good airflow. Do not place it in direct sunlight. And NEVER wash your bulbs; just shake or gently brush off most of the dirt.
- Gently break hardneck bulbs into their individual cloves. Select the largest cloves for replanting and eat or preserve the rest. If you have no garlic of your own, buy some at a local farmer's market or from a reputable mail-order source. No supermarket garlic!
I immediately began marking the garlic beds and rotating them so that garlic never followed garlic and thought that was enough; which it was for a couple of years. Then it struck again this season and I frantically pulled up every plant that had a layer of nasty mold where plant met soil, replaced the potentially contaminated shredded leaf mulch with fresh pine straw...and then remembered a disease prevention tip from years ago: soaking the cloves in a baking soda solution for 24 hours (one tablespoon per gallon of water) followed by five minutes in a bath of undiluted vodka.
I ran to the liquor store and bought a half-gallon of cheap vodka for ten bucks. I drenched the beds with this swill, made a promise to treat my cloves properly at planting time this year and harvested a fine crop.
To be continued...
-
Helpful Products from Gardens Alive!
-
Deerfield Purple Hardneck Garlic - Bulb
-
 Gardener's Gold™ Premium Compost
 -
 Raised Garden Bed Corners & Extenders


 Gardens Alive! & Supplies
